To understand floor plans for your first home, start by decoding symbols: walls are parallel lines, doors are breaks with arcs, and windows are thin rectangles.
Pay attention to scale, usually 1:50 to 1:500, where 1cm on paper represents 50cm to 5m in reality. Identify room layouts and flow, considering the arrangement of living spaces, bedrooms, and bathrooms. Evaluate functionality by assessing room dimensions, traffic flow, and natural light. Visualise your lifestyle needs, thinking about daily routines and future plans.
As you dive deeper into floor plan analysis, you’ll gain valuable insights to make the best choice for your new home.
Key Takeaways
- Learn common symbols for walls, doors, windows, and electrical fixtures to interpret floor plan elements accurately.
- Understand the scale used to translate measurements on paper to real-world dimensions.
- Analyse room layouts and flow to evaluate how spaces connect and function together.
- Consider room dimensions and functionality to ensure they meet your lifestyle needs and preferences.
- Visualise your daily routines and future plans to assess if the floor plan accommodates your long-term requirements.
Decoding Floor Plan Symbols
Floor plans can seem like a confusing maze of lines and symbols at first glance. Don’t worry, though – you’re not alone in feeling this way. Many first-time homebuyers find themselves in the same boat. Let’s decode these symbols together, so you can confidently navigate your future home’s layout.
First, familiarise yourself with the basic elements. Walls are typically represented by parallel lines, with thicker lines indicating load-bearing walls. Doors are shown as breaks in the wall with an arc to indicate the swing direction. Windows appear as thin rectangles within walls.
You’ll often see circles with numbers inside – these represent electrical outlets. Switches are depicted as small squares, while light fixtures are shown as circles with an ‘X’ inside. For plumbing fixtures, look for symbols that resemble the actual items: a rectangle for a bathtub, a circle for a toilet, or a square with diagonal lines for a shower.
Stairs are represented by a series of rectangles with an arrow indicating the direction of ascent. Built-in furniture, like kitchen cabinets or wardrobes, are often drawn with dashed lines to distinguish them from structural elements.
Understanding Scale and Measurements
Now that you’re familiar with floor plan symbols, let’s focus on understanding scale and measurements. In New Zealand, we use the metric system, so you’ll see dimensions in metres, centimetres, and millimetres. Floor plans are typically drawn to scale, which means the proportions on paper represent the actual size of your future home.
To read the scale, look for a notation like 1:50 or 1:100. This means that 1 unit on the plan represents 50 or 100 units in real life. For example, in a 1:100 scale, 1cm on the plan equals 1 metre in reality. Understanding this scale helps you visualise the actual size of rooms and spaces.
Here’s a quick reference table for common floor plan scales:
Scale | 1cm on plan | 1m on plan |
1:50 | 50cm | 50m |
1:100 | 1m | 100m |
1:200 | 2m | 200m |
1:500 | 5m | 500m |
When reading measurements on a floor plan, you’ll often see room dimensions listed as length x width. For instance, a bedroom might be noted as 3.5m x 3m. This means the room is 3.5 metres long and 3 metres wide. Pay attention to these measurements to ensure the spaces meet your needs and accommodate your furniture.
Identifying Room Layouts and Flow
Understanding room layouts and flow is crucial when interpreting floor plans. As you examine the plan, focus on how rooms connect and interact with each other. This will help you envision your daily life in the home and ensure it meets your needs.
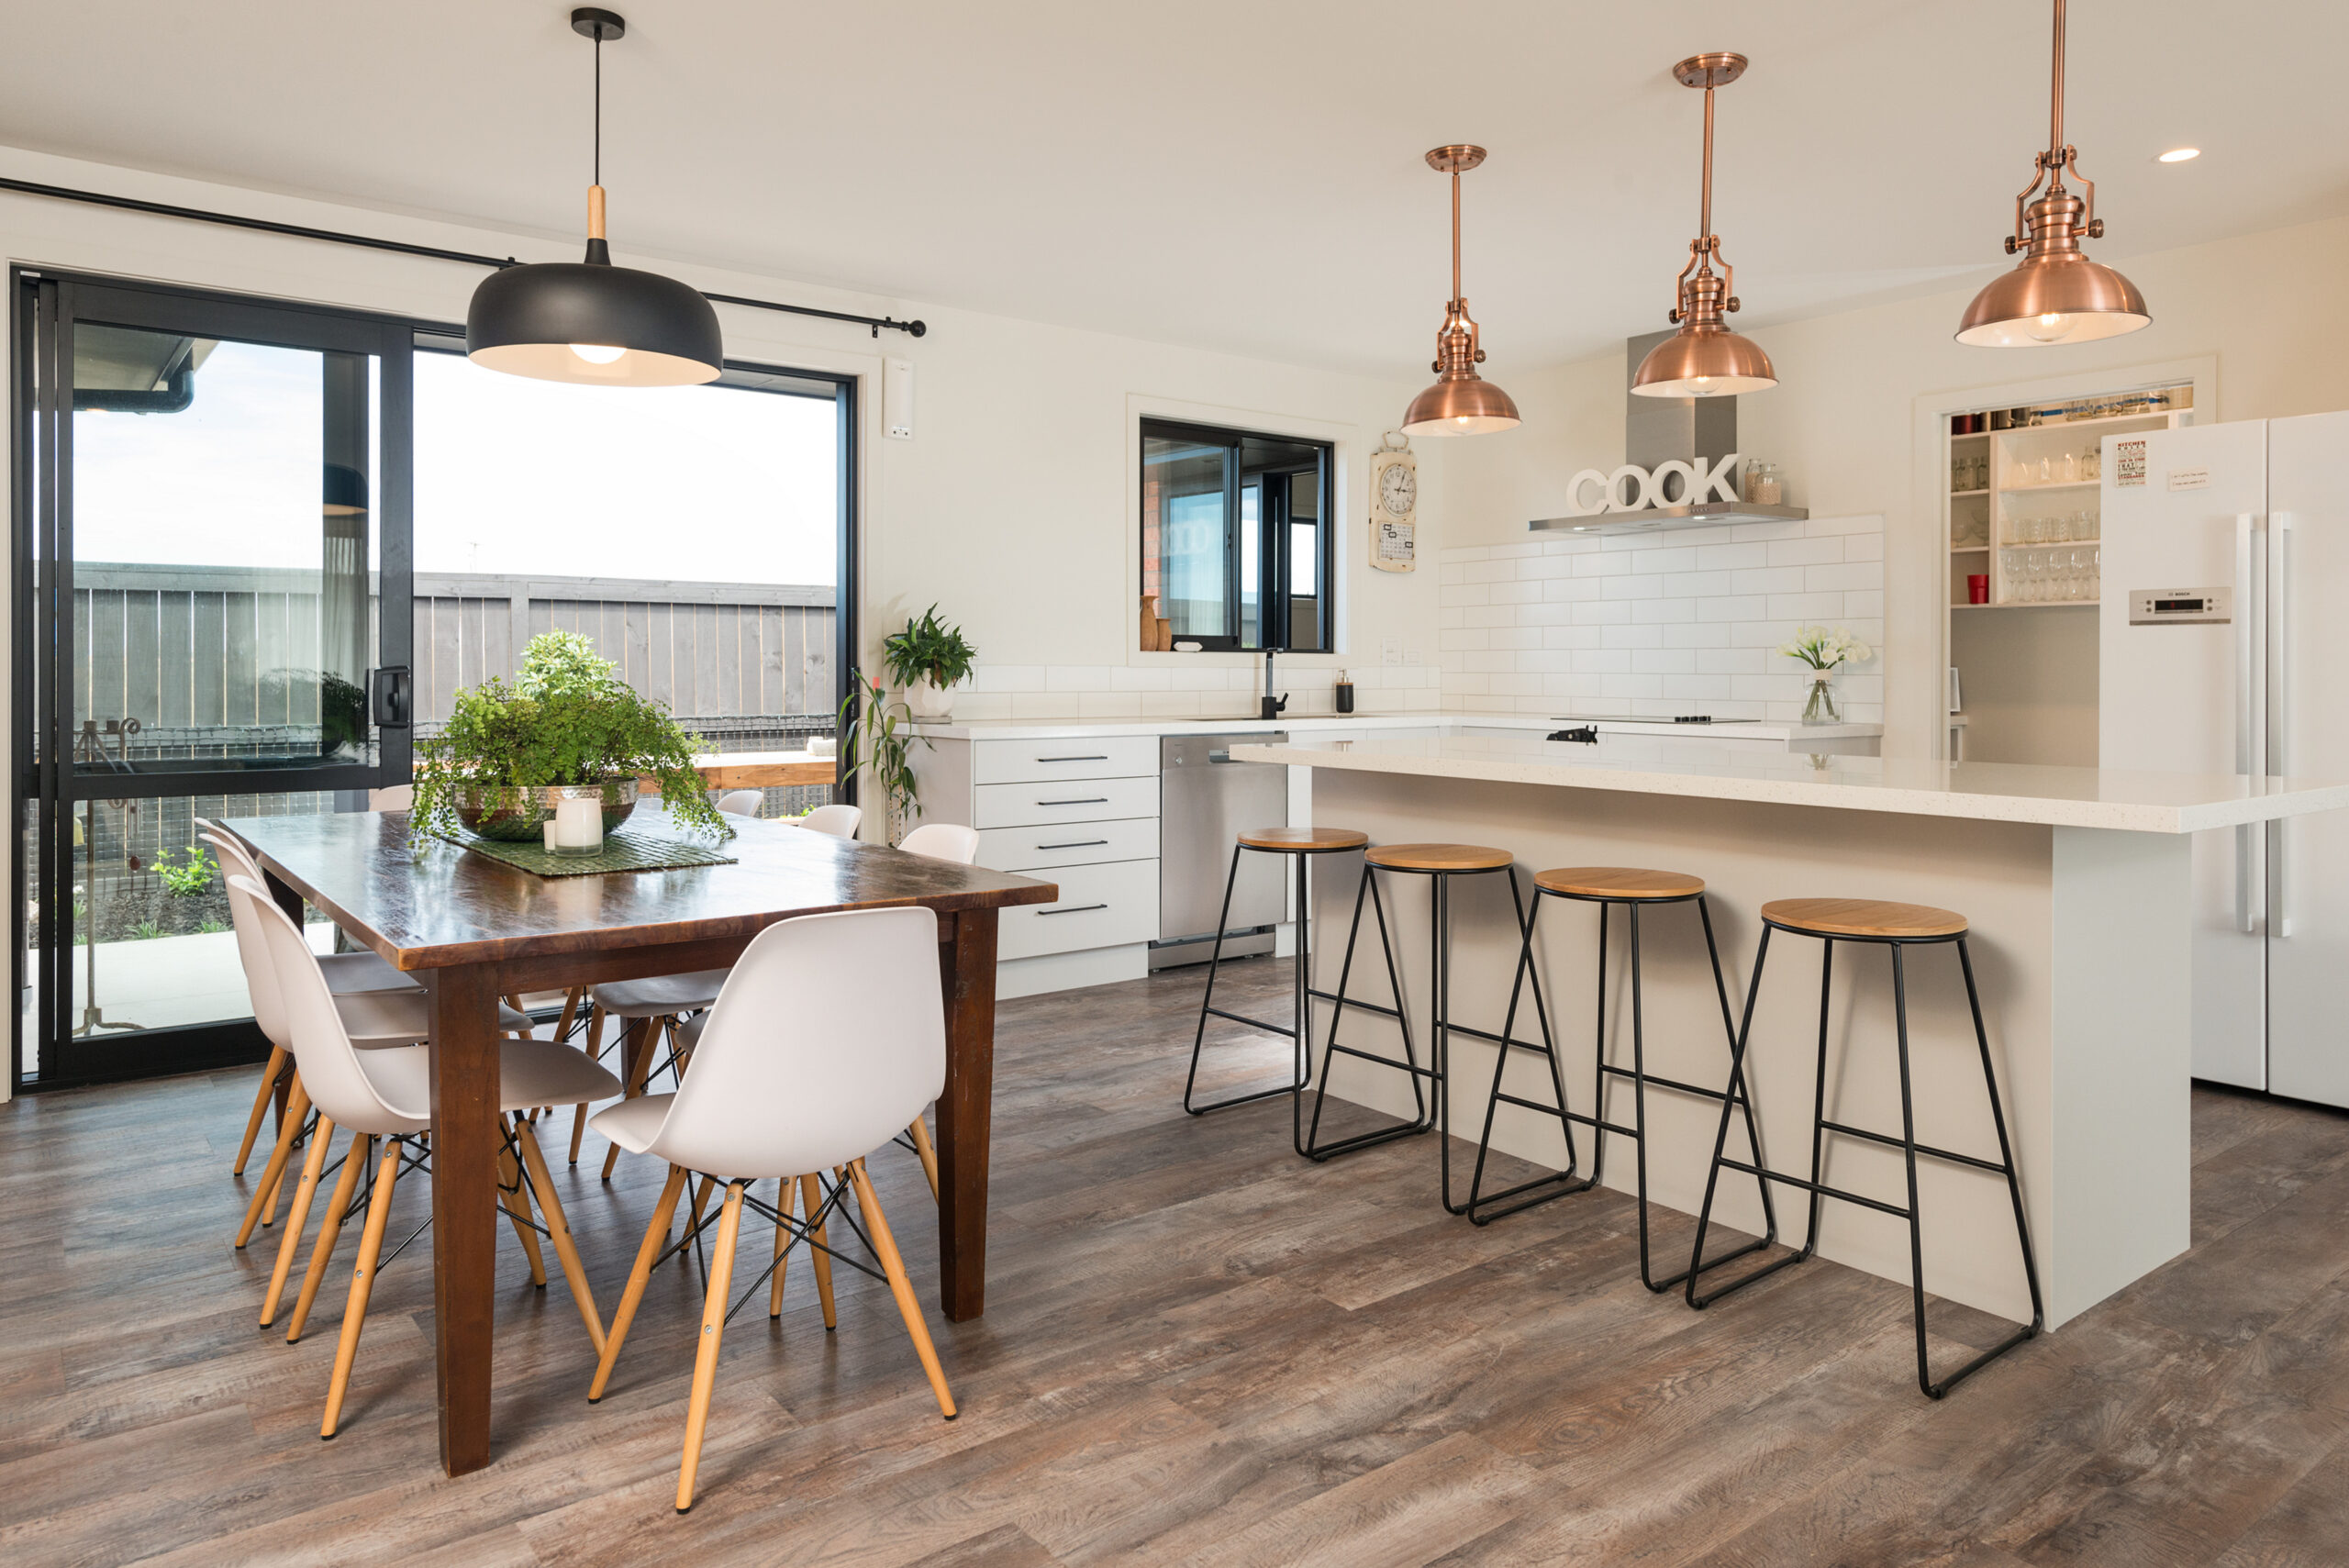
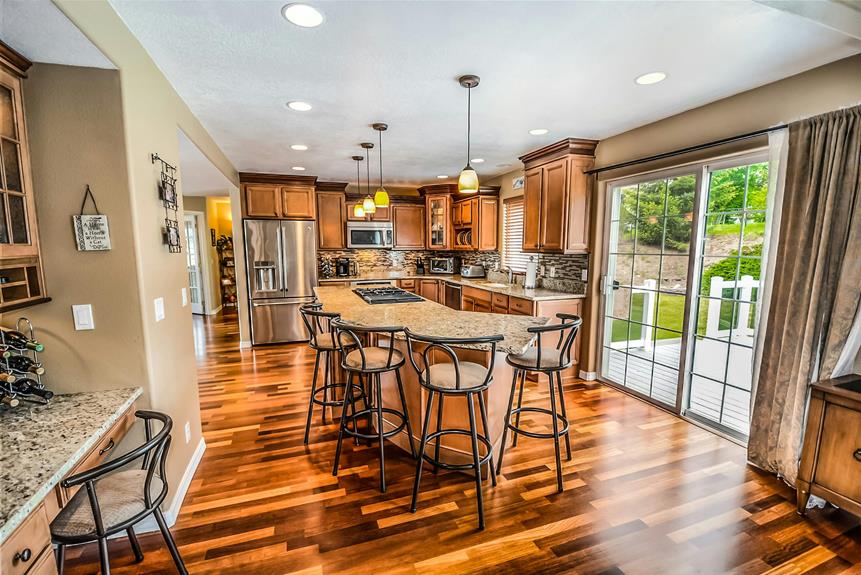
Start by identifying the main living areas. These typically include the lounge, dining room, and kitchen. Look at how they’re arranged and connected. Open-plan layouts often feature these spaces flowing into one another, while traditional designs may have separate rooms. Consider which style suits your lifestyle and preferences.
Next, locate the bedrooms and bathrooms. Note their positions relative to the living areas and each other. Are they clustered together or spread out? This can affect privacy and noise levels within the home. Also, check if the master bedroom has an ensuite and walk-in wardrobe, as these are common features in many New Zealand homes.
Pay attention to the placement of doors and windows. These elements influence traffic flow and natural light. Imagine walking through the house and think about how easily you can move between rooms. Are there any awkward transitions or potential bottlenecks?
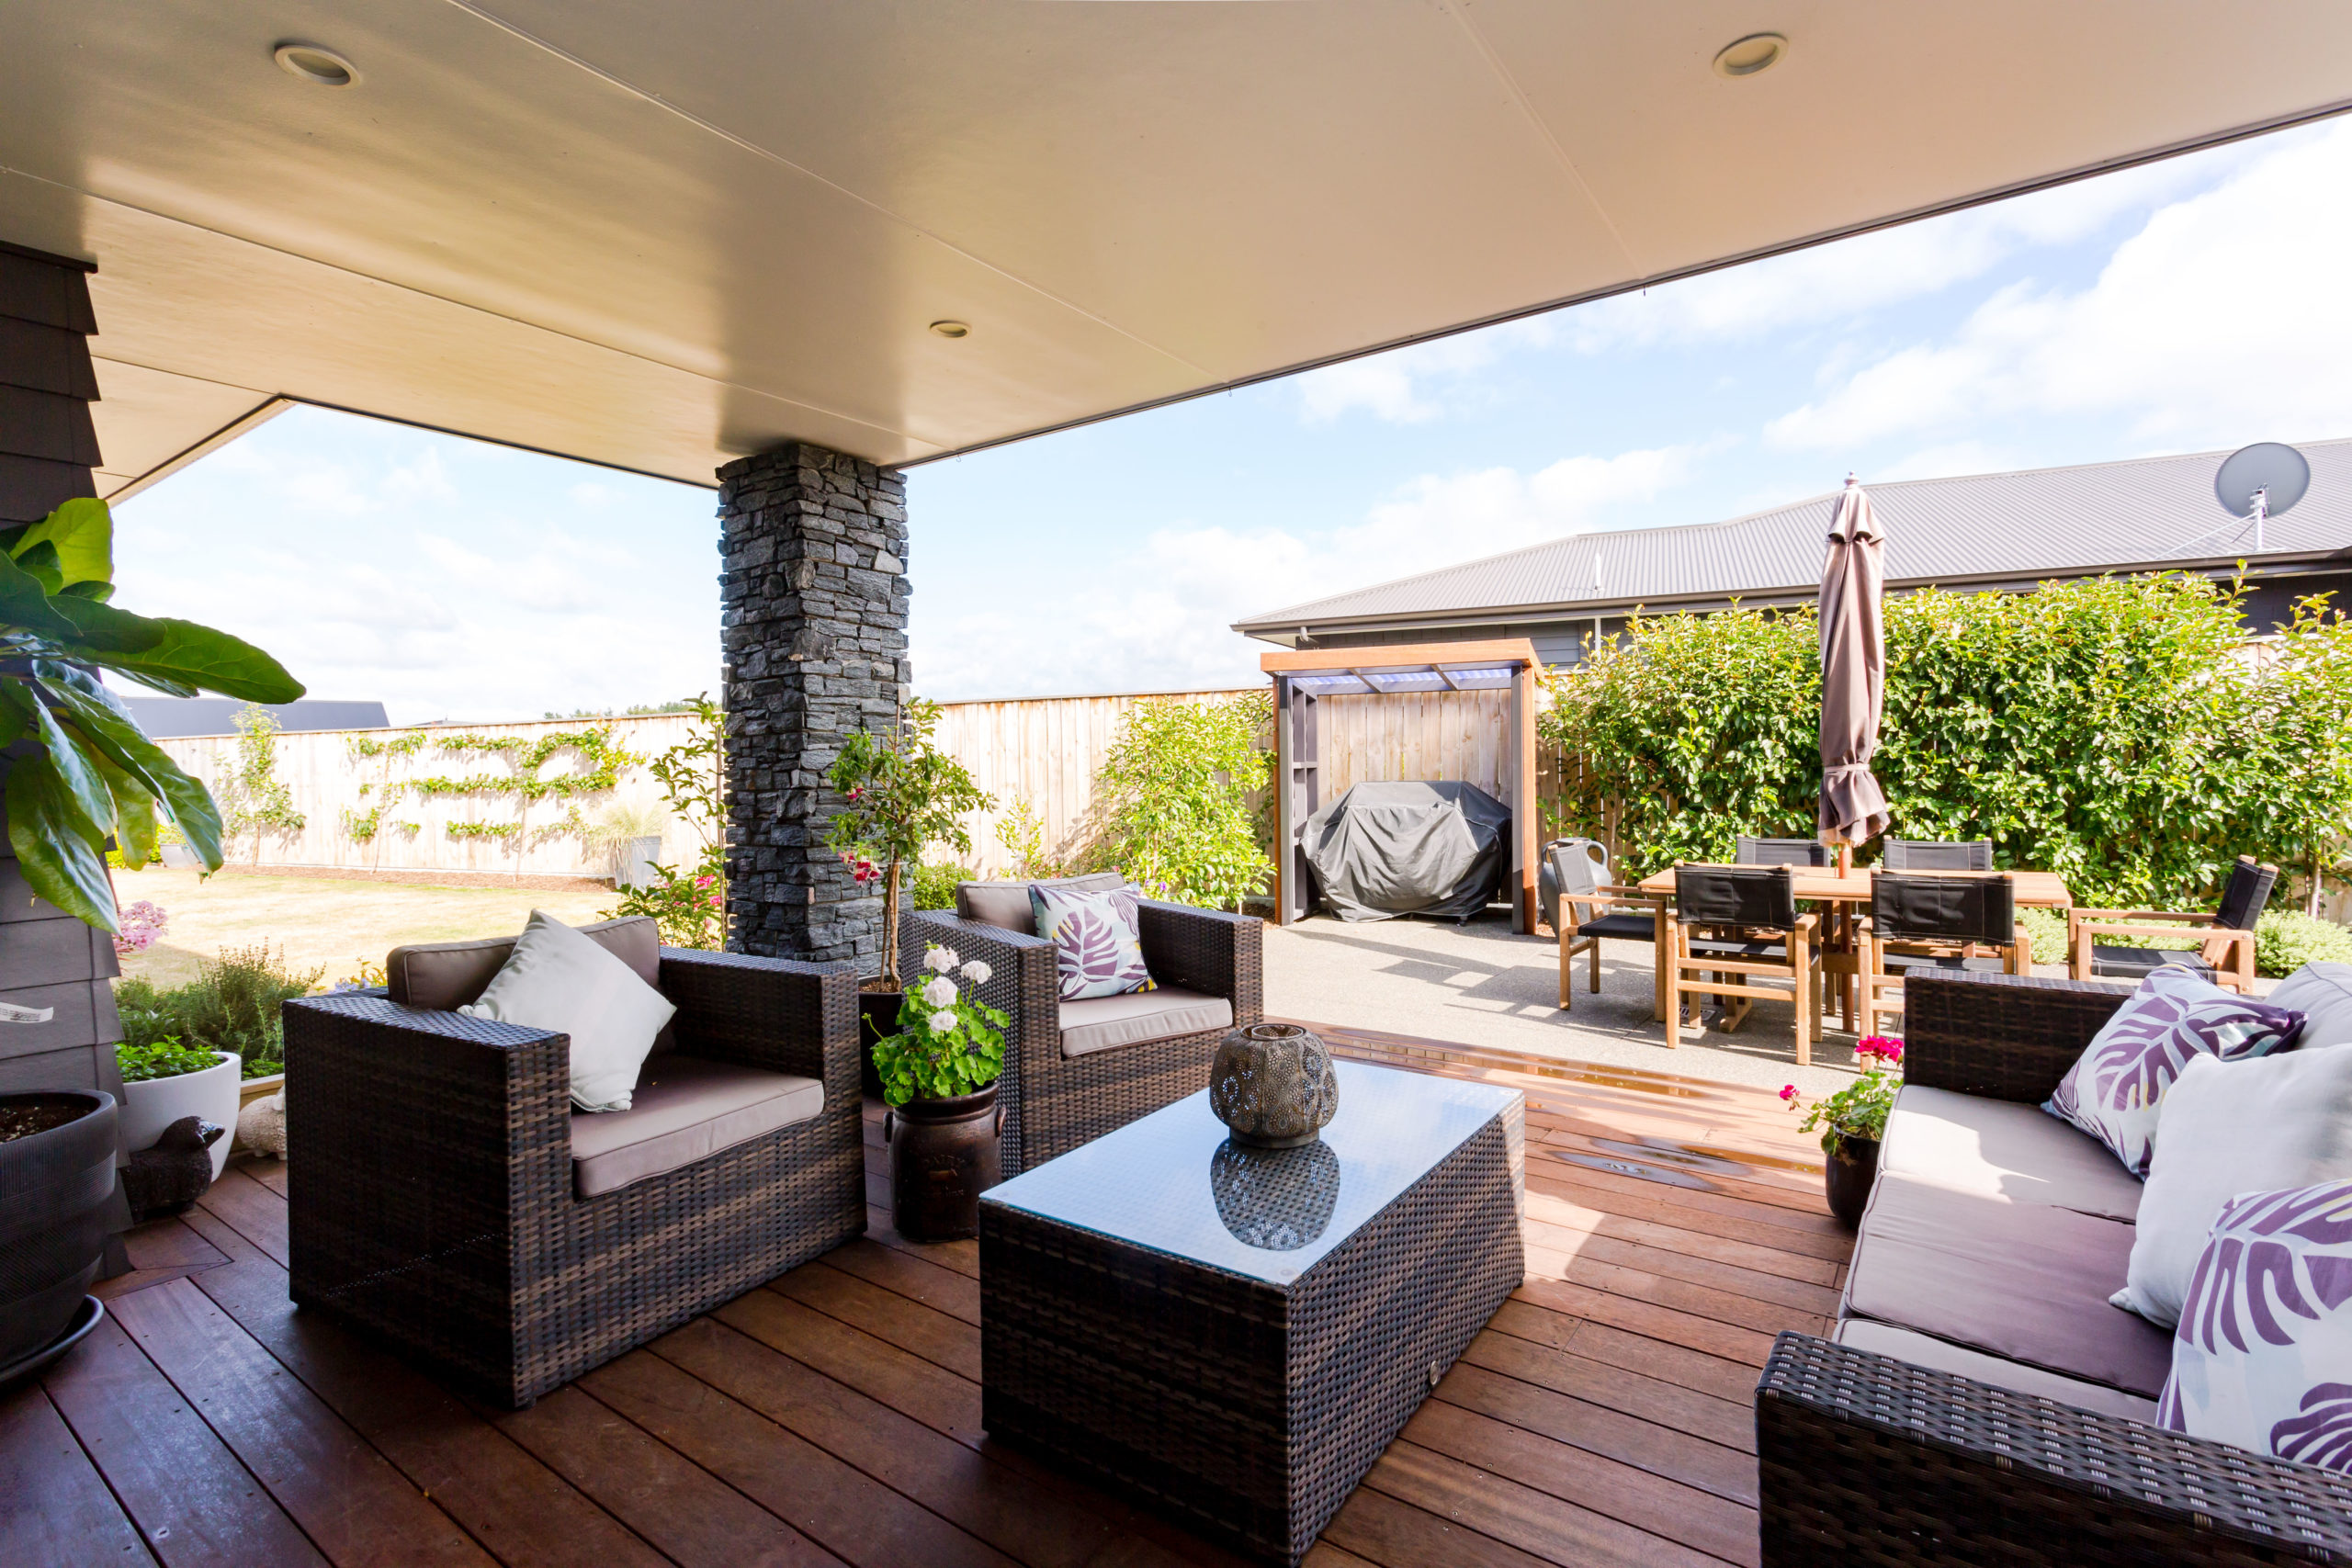
Don’t forget to look for functional spaces like laundry rooms, storage areas, and outdoor living spaces. These often-overlooked areas can greatly impact your day-to-day comfort and convenience.
Evaluating Space and Functionality
After examining the overall layout, you’ll want to assess each room’s space and functionality. This step is crucial in determining whether the floor plan meets your needs and lifestyle. Start by considering the dimensions of each room, which are typically indicated in metres on New Zealand floor plans. Think about how you’ll use each space and whether it’s large enough to accommodate your furniture and activities.
When evaluating space and functionality, keep these key factors in mind:
- Traffic flow: Ensure there’s enough room to move comfortably between furniture and through doorways.
- Natural light: Check window placement and size to gauge how much sunlight each room will receive.
- Storage: Look for built-in closets, cupboards, and other storage solutions.
- Flexibility: Consider how rooms could be repurposed as your needs change over time.
- Privacy: Assess the placement of bedrooms and bathrooms in relation to common areas.
As you analyse each room, imagine yourself living in the space. Will the kitchen layout work for your cooking habits? Is the living room large enough for family gatherings? Does the master bedroom offer enough space for relaxation? These questions will help you determine if the floor plan aligns with your lifestyle.
Visualising Your Lifestyle Needs
Visualising your lifestyle needs is a crucial step in interpreting floor plans effectively. As you examine the layout, imagine how you’ll use each space in your daily life. Consider your routines, hobbies, and future plans to ensure the home’s design aligns with your lifestyle.
Think about the activities you enjoy and how they fit into the floor plan. Do you need a dedicated home office, a crafting area, or a spacious kitchen for entertaining? Picture yourself moving through the house, from waking up to going to bed. This mental walkthrough can help you identify potential issues or confirm that the layout suits your needs.
To help you visualise your lifestyle needs, consider the following scenarios:
Activity | Space Needed | Considerations | Potential Solutions |
Working from home | Home office | Privacy, quiet | Converted bedroom, nook |
Entertaining | Open-plan living area | Flow, seating | Kitchen island, deck |
Family time | Shared living spaces | Comfort, connectivity | Media room, playroom |
Relaxation | Private retreats | Tranquillity, separation | Master suite, reading corner |
Don’t forget to factor in storage needs, as clutter-free spaces contribute to a more enjoyable living experience. Consider built-in storage solutions or multi-functional furniture to maximise space efficiency.
Conclusion
You’re now equipped to read floor plans like a pro.
The average Kiwi home is around 150 square metres, so use this as a reference when visualising spaces. As you continue your journey, you’ll find that understanding floor plans becomes second nature. Don’t hesitate to ask questions and seek clarification from professionals.
With your newfound knowledge, you’re ready to make informed decisions about your dream home’s design and layout.